



MR_Lab_8_Pytorch_tutorial_Part5_Transforms&Dataloaders
ipynb1.2 MBPython · 25 cellsIn Lab 8: Transforms and dataloaders
Input Data
Generally, when you have to deal with image, text, audio or video data,
you can use standard python packages that load data into a numpy array.
Then you can convert this array into a torch.*Tensor.
- For images, packages such as Pillow, OpenCV are useful
- For audio, packages such as scipy and librosa
- For text, either raw Python or Cython based loading, or NLTK and SpaCy are useful
Specifically for vision, we have created a package called
torchvision, that has data loaders for common datasets such as
Imagenet, CIFAR10, MNIST, etc. and data transformers for images, viz.,
torchvision.datasets and torch.utils.data.DataLoader.
This provides a huge convenience and avoids writing boilerplate code.
we will have a look on tools for downloading datasets and transforms
Transforms
Torchvision supports common computer vision transformations in the torchvision.transforms and torchvision.transforms.v2 modules.
Transforms can be used to transform or augment data for training or inference of different tasks (image classification, detection, segmentation, video classification).
Data does not always come in its final processed form that is required for training machine learning algorithms. We use transforms to perform some manipulation of the data and make it suitable for training.
TorchVision datasets have two parameters -transform to modify the features and target_transform to modify the labels - that accept callables containing the transformation logic
The torchvision.transforms module offers several commonly-used transforms out of the box.
x.
import torch
import torchvision
import torchvision.transforms as transforms
Compose
Composes several transforms together
transforms.Compose?[1;31mInit signature:[0m [0mtransforms[0m[1;33m.[0m[0mCompose[0m[1;33m([0m[0mtransforms[0m[1;33m)[0m[1;33m[0m[1;33m[0m[0m
[1;31mDocstring:[0m
Composes several transforms together. This transform does not support torchscript.
Please, see the note below.
Args:
transforms (list of ``Transform`` objects): list of transforms to compose.
Example:
>>> transforms.Compose([
>>> transforms.CenterCrop(10),
>>> transforms.PILToTensor(),
>>> transforms.ConvertImageDtype(torch.float),
>>> ])
.. note::
In order to script the transformations, please use ``torch.nn.Sequential`` as below.
>>> transforms = torch.nn.Sequential(
>>> transforms.CenterCrop(10),
>>> transforms.Normalize((0.485, 0.456, 0.406), (0.229, 0.224, 0.225)),
>>> )
>>> scripted_transforms = torch.jit.script(transforms)
Make sure to use only scriptable transformations, i.e. that work with ``torch.Tensor``, does not require
`lambda` functions or ``PIL.Image``.
[1;31mFile:[0m c:\python311\lib\site-packages\torchvision\transforms\transforms.py
[1;31mType:[0m type
[1;31mSubclasses:[0m ToTensor
ToTensor converts a Python Imaging Library (PIL) image or NumPy ndarray into a FloatTensor. and scales the image’s pixel intensity values in the range [0., 1.]
transforms.ToTensor?[1;31mInit signature:[0m [0mtransforms[0m[1;33m.[0m[0mToTensor[0m[1;33m([0m[1;33m)[0m [1;33m->[0m [1;32mNone[0m[1;33m[0m[1;33m[0m[0m
[1;31mDocstring:[0m
Convert a PIL Image or ndarray to tensor and scale the values accordingly.
This transform does not support torchscript.
Converts a PIL Image or numpy.ndarray (H x W x C) in the range
[0, 255] to a torch.FloatTensor of shape (C x H x W) in the range [0.0, 1.0]
if the PIL Image belongs to one of the modes (L, LA, P, I, F, RGB, YCbCr, RGBA, CMYK, 1)
or if the numpy.ndarray has dtype = np.uint8
In the other cases, tensors are returned without scaling.
.. note::
Because the input image is scaled to [0.0, 1.0], this transformation should not be used when
transforming target image masks. See the `references`_ for implementing the transforms for image masks.
.. _references: https://github.com/pytorch/vision/tree/main/references/segmentation
[1;31mFile:[0m c:\python311\lib\site-packages\torchvision\transforms\transforms.py
[1;31mType:[0m type
[1;31mSubclasses:[0m Normalize
Normalize a tensor image with mean and standard deviation.
Image normalization is the process of adjusting the pixel values of an image to make it easier for a machine learning model to learn from it. This is done by scaling the pixel values to a common range or by subtracting the mean and dividing by the standard deviation.
transforms.Normalize?[1;31mInit signature:[0m [0mtransforms[0m[1;33m.[0m[0mNormalize[0m[1;33m([0m[0mmean[0m[1;33m,[0m [0mstd[0m[1;33m,[0m [0minplace[0m[1;33m=[0m[1;32mFalse[0m[1;33m)[0m[1;33m[0m[1;33m[0m[0m
[1;31mDocstring:[0m
Normalize a tensor image with mean and standard deviation.
This transform does not support PIL Image.
Given mean: ``(mean[1],...,mean[n])`` and std: ``(std[1],..,std[n])`` for ``n``
channels, this transform will normalize each channel of the input
``torch.*Tensor`` i.e.,
``output[channel] = (input[channel] - mean[channel]) / std[channel]``
.. note::
This transform acts out of place, i.e., it does not mutate the input tensor.
Args:
mean (sequence): Sequence of means for each channel.
std (sequence): Sequence of standard deviations for each channel.
inplace(bool,optional): Bool to make this operation in-place.
[1;31mInit docstring:[0m Initializes internal Module state, shared by both nn.Module and ScriptModule.
[1;31mFile:[0m c:\python311\lib\site-packages\torchvision\transforms\transforms.py
[1;31mType:[0m type
[1;31mSubclasses:[0m DATASETS & DATALOADERS
Code for processing data samples can get messy and hard to maintain; we ideally want our dataset code to be decoupled from our model training code for better readability and modularity.
PyTorch provides two data primitives: torch.utils.data.DataLoader and torch.utils.data.Dataset that allow you to use pre-loaded datasets as well as your own data.
Dataset stores the samples and their corresponding labels, and DataLoader wraps an iterable around the Dataset to enable easy access to the samples.
PyTorch domain libraries provide a number of pre-loaded datasets (such as FashionMNIST) that subclass torch.utils.data.Dataset and implement functions specific to the particular data.
They can be used to prototype and benchmark your model. You can find them here: Image Datasets, Text Datasets, and Audio Datasets
Loading a Dataset
We load a Dataset with the following parameters:
rootis the path where the train/test data is storedtrainspecifies training o test dataset (Ture:train and False:Test)download=Truedownloads the data from the internet if it’s not available at roottransformandtarget_transformspecify the feature and label transformations
Loading the FashionMNIST Dataset
Here is an example of how to load the Fashion-MNIST dataset from TorchVision.
Fashion-MNIST is a dataset of Zalando’s article images consisting of 60,000 training examples and 10,000 test examples. Each example comprises a 28×28 grayscale image and an associated label from one of 10 classes:
| Label | Description |
|---|---|
| 0 | T-shirt/top |
| 1 | Trouser |
| 2 | Pullover |
| 3 | Dress |
| 4 | Coat |
| 5 | Sandal |
| 6 | Shirt |
| 7 | Sneaker |
| 8 | Bag |
| 9 | Ankle boot |
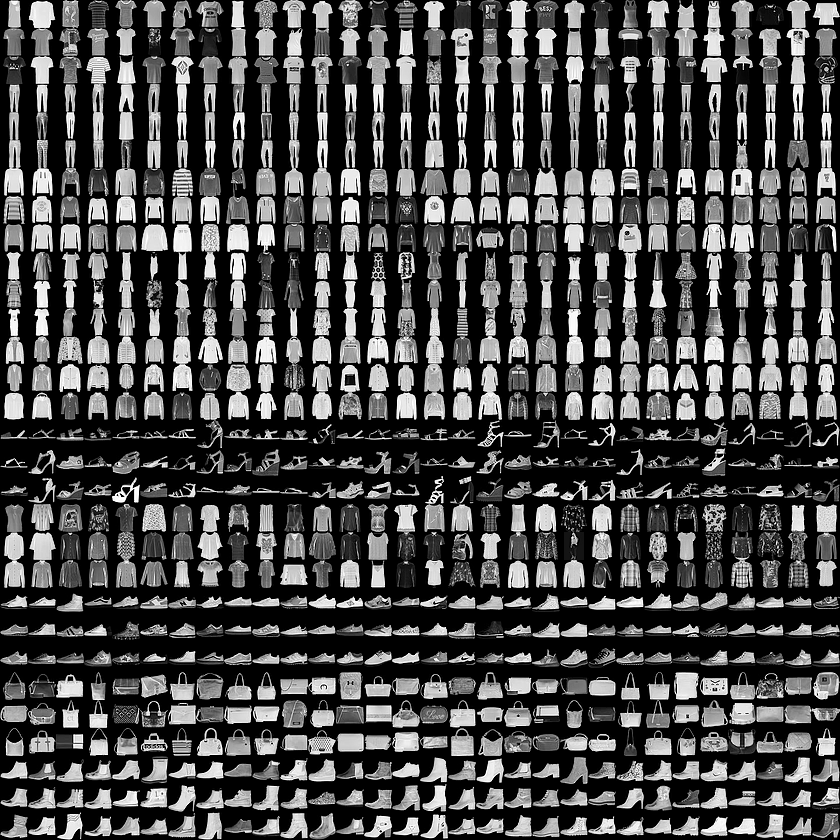
import torch
#from torch.utils.data import Dataset
from torchvision import datasets
from torchvision.transforms import ToTensor

## TRAIN DATASET
training_data = datasets.FashionMNIST(
    root="data",
    train=True,
    download=False,
    transform=ToTensor()
)

## TEST DATASET
test_data = datasets.FashionMNIST(
    root="data",
    train=False,
    download=False,
    transform=ToTensor()
)
Iterating and Visualizing the Dataset
We can index Datasets manually like a list: training_data[index].
We use matplotlib to visualize some samples in our training data.
sample_idx is a random number; it is used to retrieve a random image
import matplotlib.pyplot as plt
labels_map = {
    0: "T-Shirt",
    1: "Trouser",
    2: "Pullover",
    3: "Dress",
    4: "Coat",
    5: "Sandal",
    6: "Shirt",
    7: "Sneaker",
    8: "Bag",
    9: "Ankle Boot",
}
figure = plt.figure(figsize=(10, 8))
cols, rows = 6, 4
for i in range(1, cols * rows + 1):
    sample_idx = torch.randint(len(training_data), size=(1,)).item()
    img, label = training_data[sample_idx] # batch
    figure.add_subplot(rows, cols, i)
    plt.title(labels_map[label])
    plt.axis("off")
    plt.imshow(img.squeeze(), cmap="gray") #hot,
plt.show()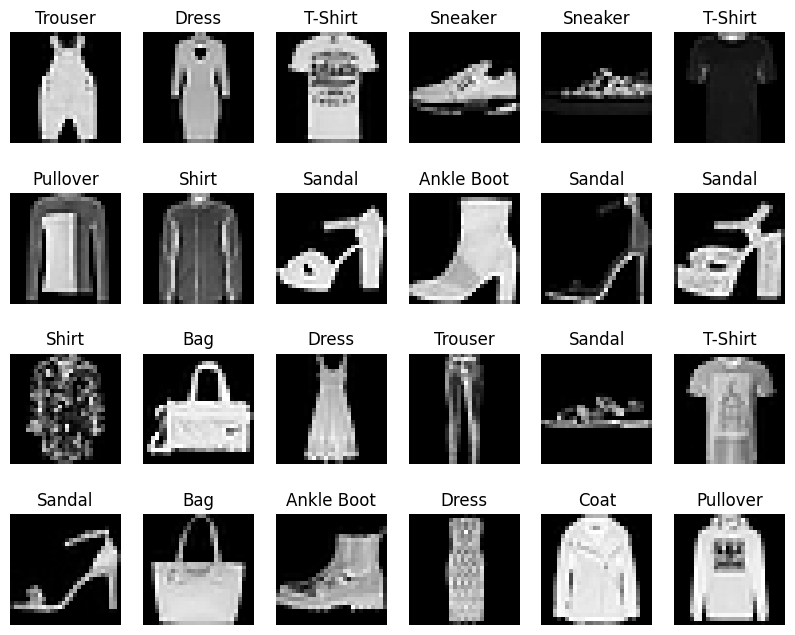
Preparing your data for training with DataLoaders
The Dataset retrieves our dataset’s features and labels one sample at a time.
While training a model, we typically want to pass samples in “minibatches”, reshuffle the data at every epoch to reduce model overfitting, and use Python’s multiprocessing to speed up data retrieval.
DataLoaderr is an iterable that abstracts this complexity for us in an easy API.
from torch.utils.data import DataLoader

train_dataloader = DataLoader(training_data, batch_size=64, shuffle=True)
test_dataloader = DataLoader(test_data, batch_size=8, shuffle=False)
Iterate through the DataLoader
We have loaded that dataset into the DataLoader and can iterate through the dataset as needed.
Each iteration below returns a batch of train_features and train_labels (containing batch_size=64 features and labels respectively).
Because we specified shuffle=True, after we iterate over all batches the data is shuffled (for finer-grained control over the data loading order, take a look at Samplers).
Note:
In PyTorch and NumPy, .squeeze() removes all dimensions of size 1 from an array or tensor.
When working with image datasets like Fashion-MNIST or MNIST, single grayscale images are often loaded with a shape like (1, 28, 28) (representing [channels, height, width]).
Calling .squeeze() removes that extra channel dimension, transforming the shape from (1, 28, 28) to (28, 28).
# Display image and label.
train_features, train_labels = next(iter(train_dataloader))
print(f"Feature batch shape: {train_features.size()}")
print(f"Labels batch shape: {train_labels.size()}")

## plot the first image in the batch
img = train_features[0].squeeze()
label = train_labels[0]

#plt.imshow(img, cmap="hot_r")
plt.imshow(img, cmap="gray")
plt.show()
print(f"Label: {label}")

## plot the first image in the batch
img = train_features[1].squeeze()
label = train_labels[1]

#plt.imshow(img, cmap="hot_r")
plt.imshow(img, cmap="gray")
plt.show()
print(f"Label: {label}")
Feature batch shape: torch.Size([64, 1, 28, 28]) Labels batch shape: torch.Size([64])
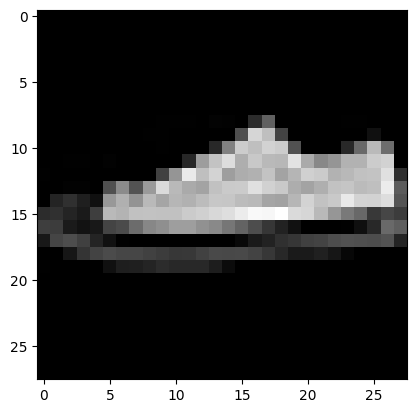
Label: 7
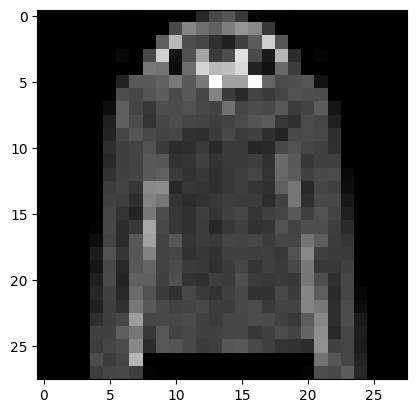
Label: 4
Iterate through the Test DataLoader
We have loaded that dataset into the DataLoader and can iterate through the dataset as needed.
Each iteration below returns a batch of test_images and test_labels (containing batch_size=8 features and labels respectively).
Because we specified shuffle=False, the data is not shuffled.
# Display image and label.
test_images, test_labels = next(iter(test_dataloader)) # iterating through batches
print(f"Images batch shape: {test_images.size()}")
print(f"Labels batch shape: {test_labels.size()}")

## plot the first image in the batch
img = test_images[0].squeeze()
label = test_labels[0]

#plt.imshow(img, cmap="hot_r")
plt.imshow(img, cmap="gray")
plt.show()
print(f"Label: {label}")
#print(f"img: {img}")

## plot the first image in the batch
img = test_images[1].squeeze()
label = test_labels[1]

#plt.imshow(img, cmap="hot_r")
plt.imshow(img, cmap="gray")
plt.show()
print(f"Label: {label}")
Images batch shape: torch.Size([8, 1, 28, 28]) Labels batch shape: torch.Size([8])
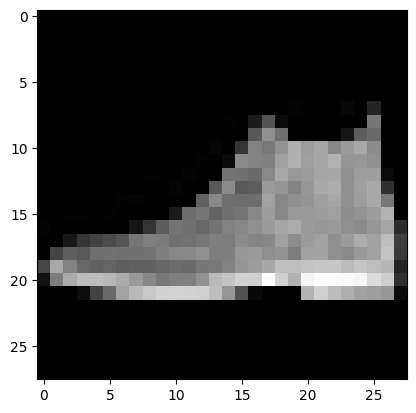
Label: 9
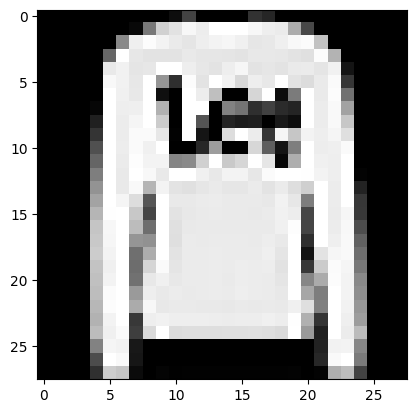
Label: 2
Exercise:
Try to doawload the MNIST Dataset and display the images and extract the labels.